


In this article, you'll learn three different methods to load data from Snowflake to Hubspot:
- Snowflake CSV download
- Reverse ETL
- SnowSQL command line
So you’ve got some valuable Snowflake data that you’d like to load into Hubspot? What a great idea! Once accomplished, you’ll be able to:
- Create custom audiences for retargeting campaigns
- Use product data to send personalized emails
- Create lead and account scoring models using product data
- The list goes on!
At Census, we believe that syncing your data warehouse (Snowflake) and your operational tools (Hubspot) is the best and most efficient way to understand and serve your customers. In this article you will find three different methods to accomplish your goal. Step-by-step instruction and pros and cons are included in each method so you can pick the one that works best for you and your team.
Method #1: Snowflake CSV download
You can export a Snowflake query as a CSV and import it into Hubspot on . Yes, I said CSV. It’s not the most scalable method, but it works if you do it right. Here are the steps:
Snowflake steps:
- Write a SQL query for the data you want to send to Hubspot. Next, click run. I wrote a simple query in Snowflake’s worksheets.
with score as (
select user_id,
    sum(case
        when name = 'webinar attended' then 3
        when name = 'appointment created' then 4
        when name = 'appointment shared' then 2
        when name = 'content downloaded' then 2
        when name = 'email opened' then 1
        else 0
    end) as lead_score
    from demo.events
group by user_id)

select email, first_name, last_name, lead_score, u.user_id
from demo.users u
join score on score.user_id = u.user_id
where lead_score > 100
limit 10
- Once your query is executed, click the download icon ( ⬇️ ). Next, click CSV (comma-seperated values), then click export.
That’s all you need to do on Snowflake. Now, head over to Hubspot for next steps.
Hubspot steps:
- Go to your Hubspot account and click contacts. From the dropdown, select your destination. If you are importing contacts, click contacts. If you are importing companies, click companies. Next, click import on the top right corner of your screen and then click start an import.
- Click file from your computer as your import and click next at the bottom right of your screen. Select one file (unless you have multiple) and click next again. Select one object (unless you have multiple) and click next. Click contacts as your object import and click next.
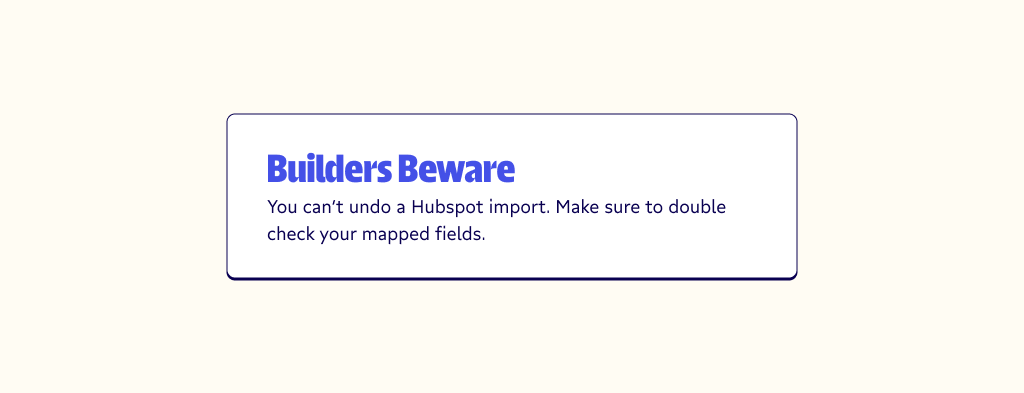
Select choose a file and find the CSV file that you exported from Snowflake. Click next. You will then map the columns from your import to the correct Hubspot properties. If you have unmatched columns, match them correctly or click don’t import data in unmatched columns.
- Check create a list of contacts from this import and click finish import.
If you followed all the Snowflake and Hubspot steps correctly, then you’ve successfully loaded data from Snowflake to Hubspot.
Is this the right method for you and your team? Here’s a quick breakdown of the pros and cons:
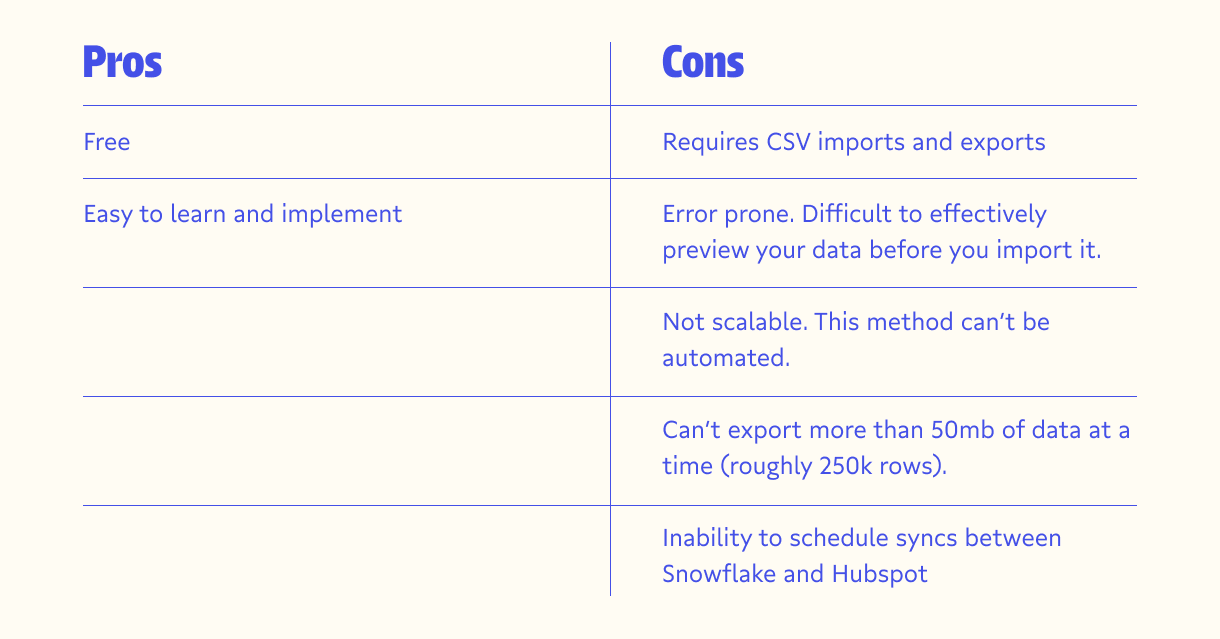
Method #1 is easy to learn, but it might not be a long term solution. Let’s take a look at Reverse ETL.
Method #2: Reverse ETL
Census is a reverse ETL tool that allows you to move data seamlessly between a warehouse (Snowflake) and a destination app (Hubspot). Unlike the previous method, Census doesn’t require CSV imports and exports. Additionally, Census is scalable. You can automate and schedule the movement of data from Snowflake to Hubspot. Learn how by watching this video tutorial, or you can follow the steps below:
Initial setup steps:
- Connect Snowflake as a data source using your account credentials.
- Connect Hubspot as a service connection using your account credentials.
- Write a SQL model to create an instance of your Snowflake database. You can use the same SQL query used in Method #1.
Steps to sync data to from Snowflake to Hubspot:
- Map your required fields (email address) and optional remaining fields. Remaining fields aren’t required to sync, but can further enrich your data in Hubspot.
- Schedule your sync frequency. Your data can be synched as often as every 15 minutes, or as infrequently as once a month.
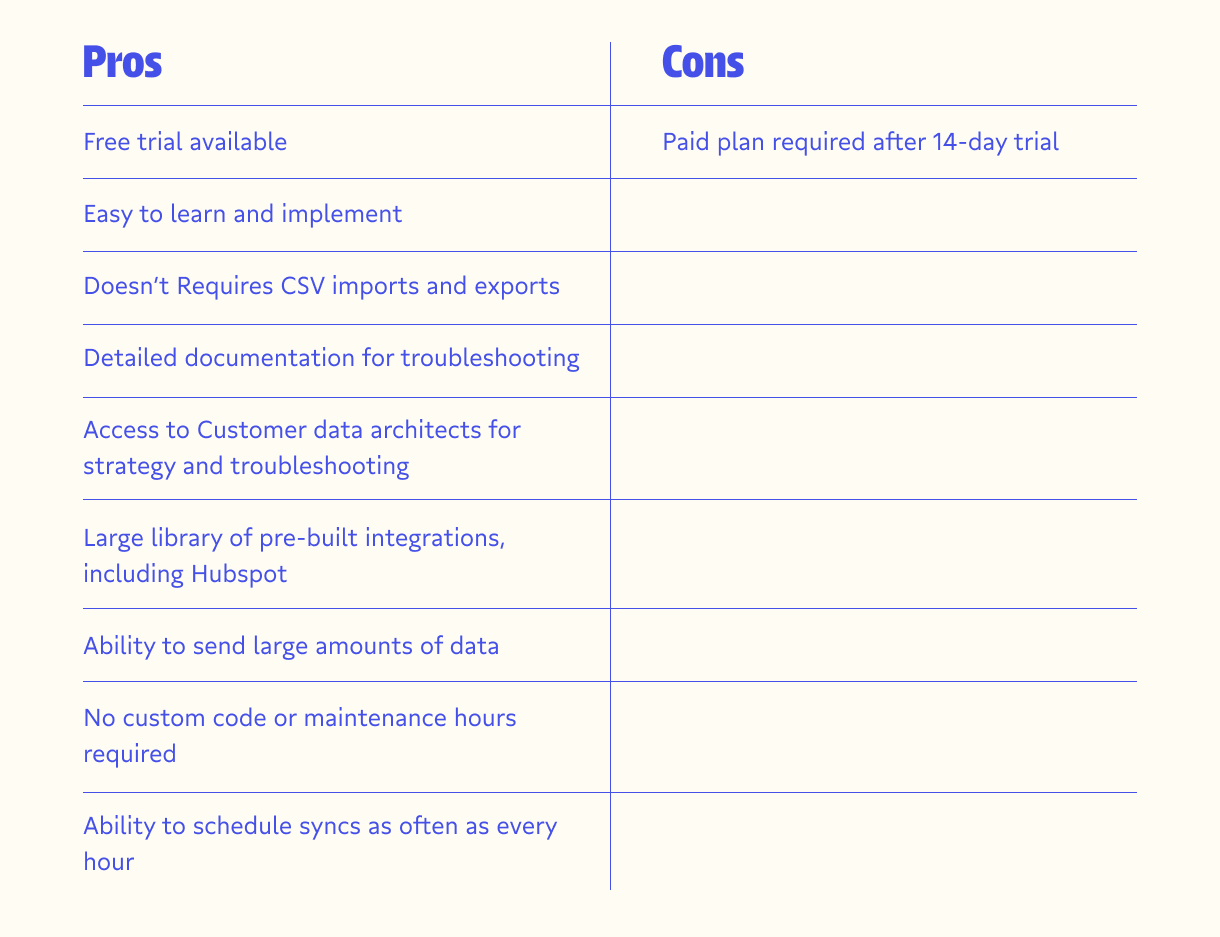
Reverse ETL is both easy to use and scalable. It has an intuitive user interface, and it is powerful enough to send large amounts of data and handle various configurations: scheduling, modeling, data sync types, etc. If you plan to sync Snowflake and Hubspot on a regular basis, Census might be the best option for you.
Here’s a breakdown of the pros and cons of Method #2:
You’ve seen how Reverse ETL can sync data between Snowflake and Hubspot, let’s check out one last method that’s comparable to method #1, Snowflake CSV download.
Method #3: SnowSQL Command Line
SnowSQL is a good method for people who are comfortable using their command line and Python. Using SnowSQL, you can query data from your Snowflake warehouse and export it as a CSV. Similar to Method #1, you can only download around 50mb of data (roughly 250k rows) from Snowflake. If you need to download more than that, I recommend using the COPY command. Here are the SnowSQL steps to loading data from Snowflake to Hubspot:
- Install SnowSQL if you don’t already have it. You can follow Snowflake’s documentation.
Once you’ve installed SnowSQL correctly, you will do the following in your command line:
- Log into SnowSQL using your snowflake credentials:
$ snowsql -a <account_identifier> -u <user_name>If you don’t know your credentials, you can run the following query in your Snowflake worksheet to get your account identifier and username:
SELECT CURRENT_ACCOUNT(), CURRENT_USER()- Next you will specify the connection, database, schema name, and query that you’d like to pull from Snowflake. Don’t press enter yet. You’re query will look something like this so far:
snowsql -c, my_database_connection, -d my_database_name -s public -q "SELECT * FROM content.public.people”- Next you will configure the query above so that it exports a CSV file. The whole query will look something like this:
snowsql -c, my_database_connection, -d my_database_name -s public -q "SELECT * FROM content.public.people", -o output_format=csv -o header=false -o timing=false -o friendly=false > output_file.csvNow that you have successfully downloaded a CSV, you can follow the Hubspot steps from method #1.
Here are the pros and cons of method #3:
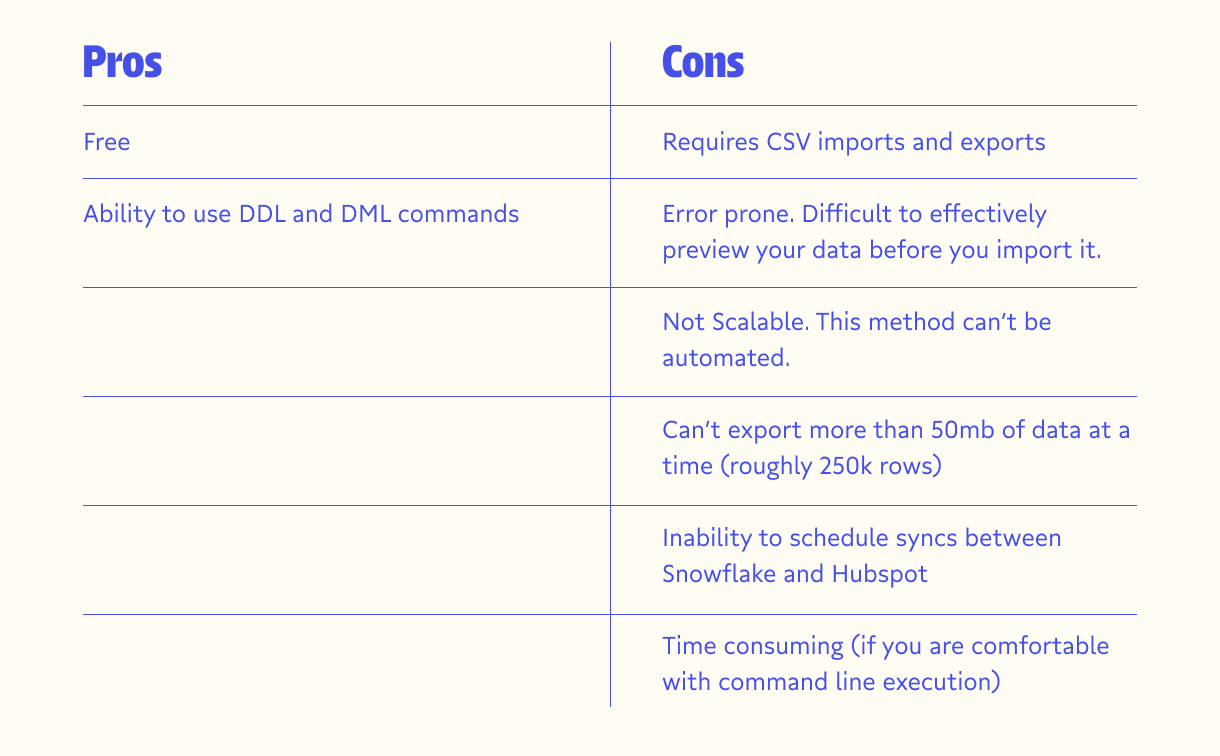
The pros and cons of the SnowSQL method are similar to method #1. Both require manual CSV imports and exports. The main difference is that SnowSQL gives you more flexibility with your CSV download.
Where to go from here: Choosing the best option to export data from Snowflake to Hubspot
You’ve seen three methods for loading data from Snowflake to Hubspot, and you've examined the pros and cons of each one.
If you are doing a one-off task, I recommend using method #1 or #3. They are simple and effective, but they aren't a long-term solution. If you plan to load data from Snowflake to Hubspot on a regular basis, I recommend method #2, Reverse ETL.
Census's Reverse ETL tool will automatically sync Snowflake to Hubspot. No CSVs or command line required. Your Hubspot will consistently have the freshest, most up-to-date data that you and your team can trust. Additionally, Hubspot is just one the countless destinations that you can sync to Snowflake. Try it for free today!